Okay so I need to be honest about something first. For the longest time, I thought hosting a good party meant the dessert had to be this elaborate, three-layer, Pinterest-worthy showstopper. I’d spend an entire Saturday making something complicated, half the time it wouldn’t even turn out right, and by the time guests arrived I was too tired to enjoy my own party. Sound familiar? If you’ve ever stood in your kitchen at 6pm with flour on your shirt and guests arriving in an hour, you know exactly what I’m talking about.
It took me a good couple of years of hosting family dinners, my daughter’s birthday parties, and random “let’s just get everyone together” evenings to figure out that the desserts people actually remember and talk about later aren’t the complicated ones. They’re the simple, well-made, made-ahead ones that taste good and look nice on a table. That’s really it. No magic formula, no secret ingredient. Just planning and picking the right recipe for the right situation.
So I wanted to write this not as some perfectly polished recipe list, but more like what I’d tell a friend if they called me up stressed out about what to serve at their next get-together.
The Biggest Lesson: Stop Choosing Recipes That Need Last-Minute Work
This was honestly my biggest mistake for years. I’d pick a dessert that needed whipping, piping, or assembling right before serving. And every single time, I’d end up stuck in the kitchen while my guests sat in the living room without me. Nobody wants that, and honestly, your guests would rather you sit with them for those last twenty minutes than fuss over garnish.
Now, before I even think about what dessert to make, I ask myself one question: can I make this the night before, or at least four to five hours ahead, and have it just sit in the fridge until it’s time to serve? If the answer is no, I don’t make it for a party. Simple as that.
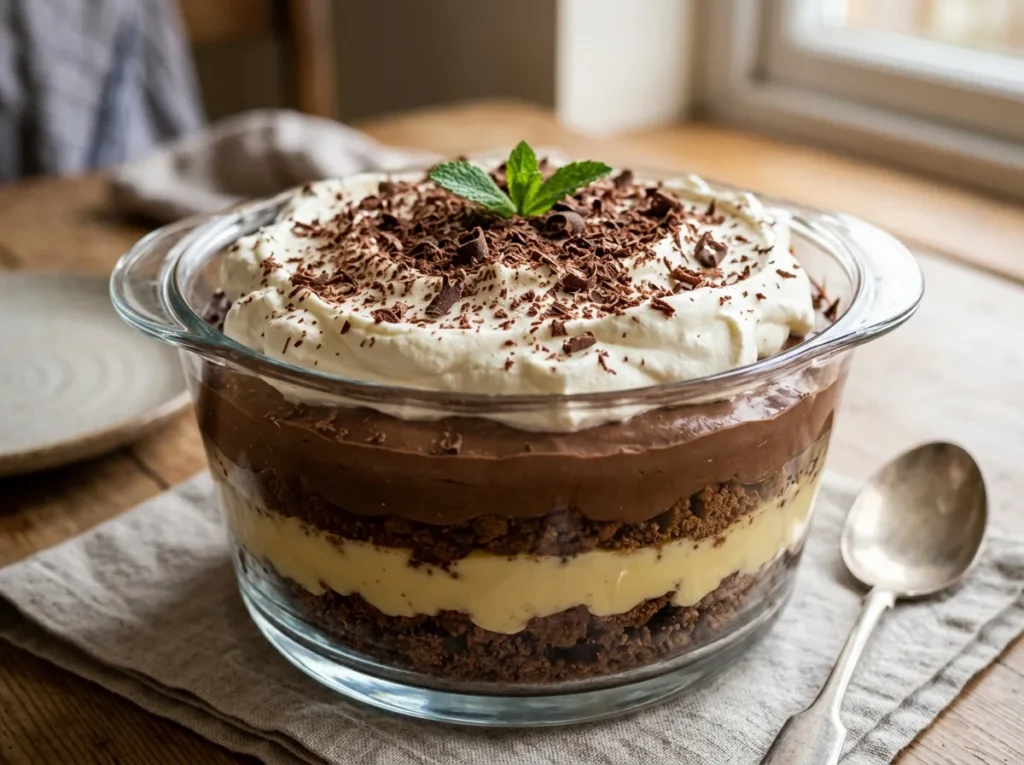
My Go-To: No-Bake Chocolate Trifle
I make this so often now that I don’t even need to check a recipe card anymore, and honestly, that’s exactly the kind of dessert you want in your back pocket for parties something you know so well you could make it half asleep.
Here’s roughly what goes into it:
- One packet of chocolate biscuits, crushed up (I usually just throw them in a ziplock bag and go at them with a rolling pin kids love helping with this part, by the way)
- About two cups of whipped cream
- One cup of chocolate custard or pudding, whichever I have on hand that day
- Grated chocolate or chocolate chips for the top
What I do is layer the crushed biscuits at the bottom of a big glass bowl, or if I’m feeling a bit fancier, individual glass cups. Then a layer of custard, then whipped cream, and I just keep repeating until I run out of ingredients or bowl space, whichever comes first. The top always gets a generous handful of grated chocolate because, honestly, it makes the whole thing look far more impressive than the actual effort that went into it.
Here’s the part people skip and shouldn’t: let it sit in the fridge for at least two hours, though overnight is even better. The biscuits need that time to soften just slightly and soak up some of the custard, and that’s really what makes the layers taste like they belong together instead of just sitting on top of each other.
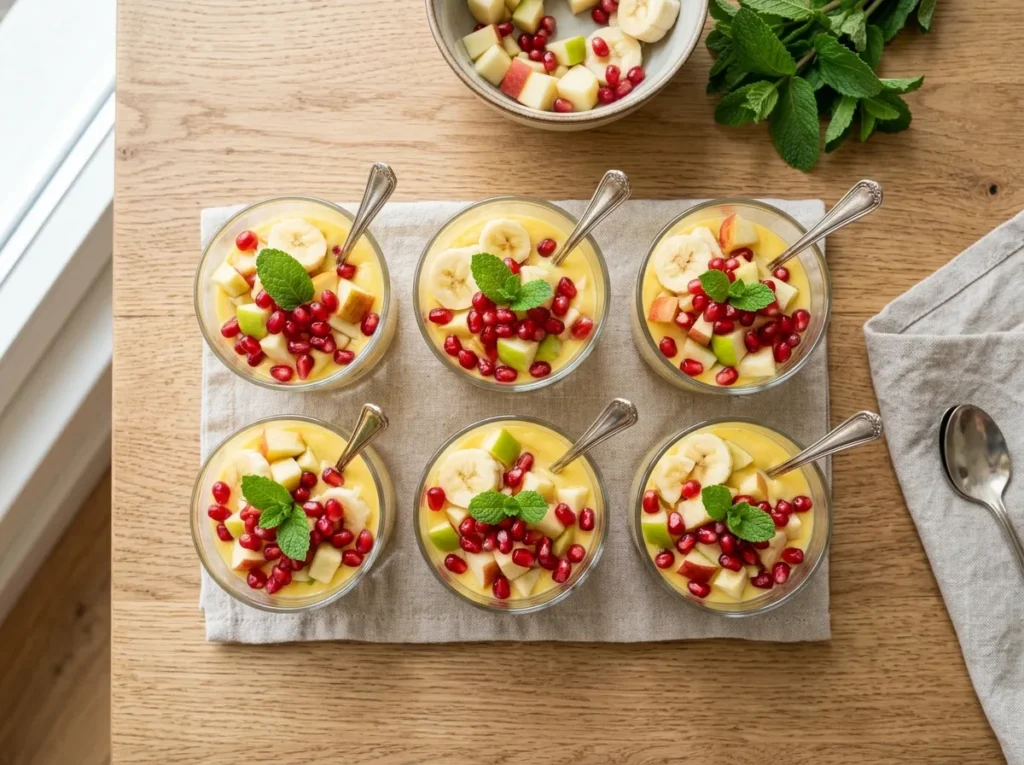
Mini Fruit Custard Cups My Summer Go-To
When it’s warmer out, or when I know some guests want something a little lighter than pure chocolate, I switch to fruit custard cups. There’s something about serving dessert in individual little cups that just feels more put-together, and selfishly, it also means less dishwashing for me afterward since people just toss their own cup when they’re done.
For this one, I mix chilled custard with whatever seasonal fruit I have around usually bananas, apples, sometimes pomegranate seeds if I want a bit of color and crunch. I pour this into small glass cups or even disposable dessert cups if it’s a bigger gathering, and top with a mint leaf, mostly because it looks nice, not because it changes the taste much.
One thing I’ve learned the hard way: don’t mix the fruit into the custard too early. Bananas especially go a bit weird and the whole thing can turn watery if it sits too long. I usually mix everything about an hour before guests arrive, not the night before.
The Mistake I Warn Every Host About
If there’s one piece of advice I give anyone hosting a party for the first time, or even the tenth time, it’s this: never, ever try a brand-new dessert recipe on the day of your event. I learned this one the hard way with a caramel pudding that just refused to set properly right as guests were walking through the door. I ended up serving it in little glasses with a spoon and calling it “deconstructed caramel pudding” like it was intentional. Nobody complained, but I knew the truth.
Now I only make desserts for parties that I’ve already tested at home at least once, ideally on a regular weeknight when there’s no pressure. If it works, it goes on the party menu. If it doesn’t, I quietly retire it and move on.
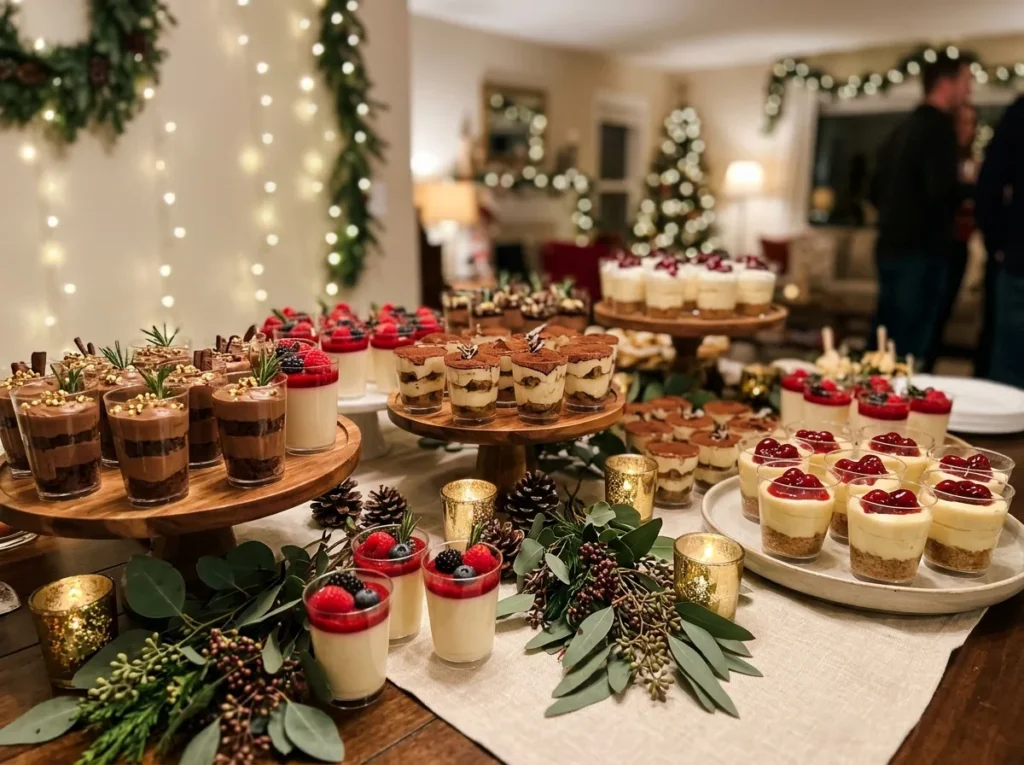
Small Portions Make a Big Difference
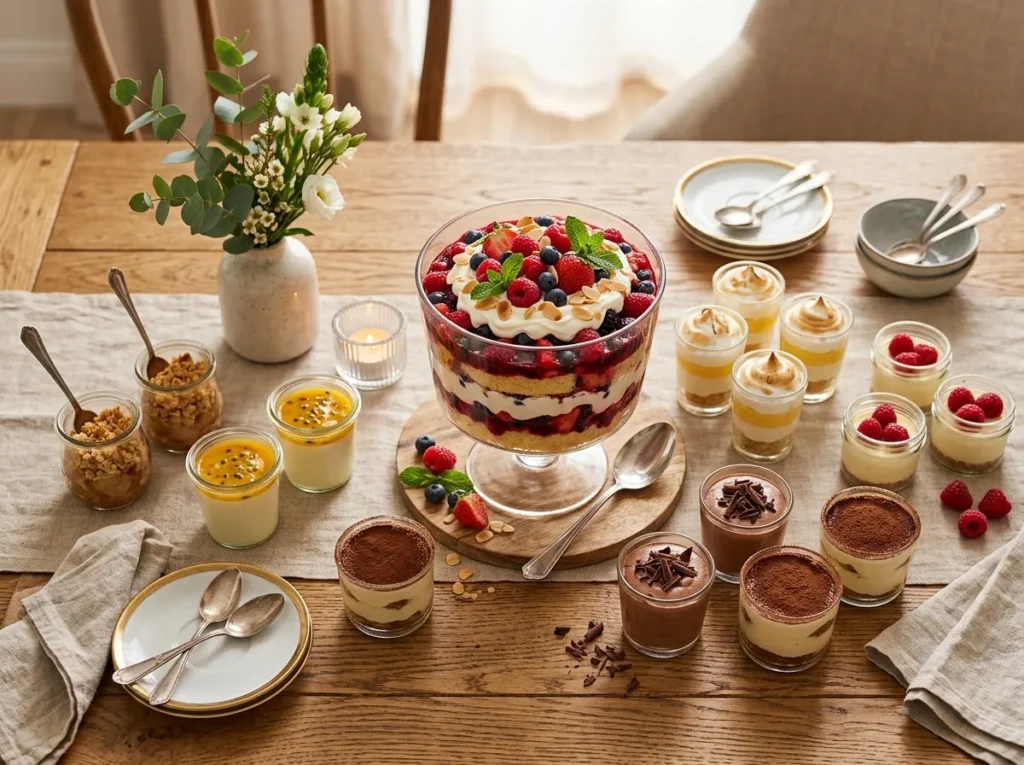
Something I didn’t expect to matter as much as it does: portion size and presentation. A big single dessert in one giant bowl always ends up looking messy by the time half your guests have served themselves. Individual portions, whether in small cups, jars, or even just smaller plates, keep things looking neat throughout the entire party, not just for the first ten minutes.
It also, weirdly, makes guests feel like more thought went into the evening. A trifle in a shared bowl feels like “here’s dessert.” The same trifle in little glass cups with a spoon feels like “I made this specifically for tonight.” Same recipe, same effort really, just a different presentation.
A Few Other Things I’ve Picked Up Along the Way
- Always make a little extra. There’s always that one person who wants seconds, and running out of dessert is somehow more awkward than running out of the main course.
- If you’re serving a mixed crowd some who love very sweet things, some who don’t having one lighter fruit-based option alongside a richer chocolate one covers both bases without much extra work.
- Labels help more than you’d think, especially if there’s any nuts or common allergens involved. A tiny handwritten card next to the dessert saves a lot of awkward “does this have nuts in it?” conversations later.
- Keep desserts covered until close to serving time, especially in warmer weather or if there are pets or curious kids running around.
What I Serve Depending on the Type of Party
Over time I noticed that not every party calls for the same dessert, and I used to just default to whatever I felt like making that week. Now I actually think about who’s coming.
For a family dinner with mostly adults, I lean toward the chocolate trifle because it feels a bit more indulgent and adults tend to appreciate that after a heavier meal. For a kids’ birthday party, I usually skip anything with custard that needs to be eaten with a spoon carefully trust me, that ends in a sticky mess on someone’s good couch and go for something simpler like small cupcakes or the fruit cups, since kids can just grab and go.
For larger gatherings, say fifteen to twenty people, I almost always double the fruit custard recipe because it stretches easily and doesn’t get more expensive per person the way a chocolate-heavy dessert does. For smaller, more intimate dinners of six or eight people, I’ll sometimes go all out with the trifle in nicer glassware since there’s less pressure on quantity and more room to focus on how it looks.
How I Plan the Timing Around the Rest of the Party
Something nobody really talks about is how dessert timing fits into the rest of your evening. I used to just leave dessert as an afterthought, something I’d sort out once the main food was done. Now I actually plan it alongside everything else.
If I’m making the trifle, I do it the night before and just leave it covered in the fridge. That means on the actual day of the party, I have one less thing to worry about, and I can focus on the main dishes or just cleaning the house before guests show up. For the fruit custard cups, since they need to be assembled a bit closer to serving time, I’ll usually do that step right after I’ve finished cooking the main course and while things are resting or the oven’s doing its thing. It fits into a natural gap instead of feeling like extra work squeezed in somewhere.
Why I Stopped Worrying About Making Dessert “Impressive”
I think a lot of people, myself included for a long time, associate a good party dessert with something that looks like it came from a bakery. But honestly, most of the compliments I’ve gotten over the years have been for the simple stuff the custard cups, the trifle, even a basic bowl of fruit with a dusting of chaat masala one time when I genuinely didn’t have time to make anything else.
What guests actually notice is whether the dessert tastes fresh, whether there was clearly some effort put in, and whether it fits the vibe of the evening. Nobody’s sitting there judging whether you used a fancy piping technique. That realization alone took a lot of pressure off of my hosting, and I think it’s the single biggest thing I’d want another host to take away from this.
Wrapping This Up
Honestly, after everything I’ve learned from hosting more parties than I probably should admit to, the biggest shift for me was realizing that good dessert recipes for parties don’t need to be difficult to be memorable. It’s really about picking something you can prepare ahead of time, that travels well from fridge to table, and that you’ve already made once before so there are no surprises on the actual day.
The chocolate trifle and the fruit custard cups have become my two regulars, and between the two of them, I’ve never once had a party where dessert wasn’t the thing people mentioned on their way out the door. If you’ve got a get-together coming up soon, I’d genuinely start with one of these before reaching for anything more complicated. Your future self, standing in the kitchen an hour before guests arrive, will thank you for it.